Quick Start
Build your first AI voice or chat agent in under 10 minutes. Follow this step-by-step guide to go from zero to a working agent that can handle real calls.
Prerequisites
Before you begin, make sure you have:
- An email address to create your account
- A payment method (required for phone numbers)
- A phone to test your voice agent
Step-by-Step Guide
Create Your Account
Sign up for a free Dotclone account to get started.
Head over to app.dotclone.com/register and create your account. You can sign up with your email or use Google/GitHub authentication.
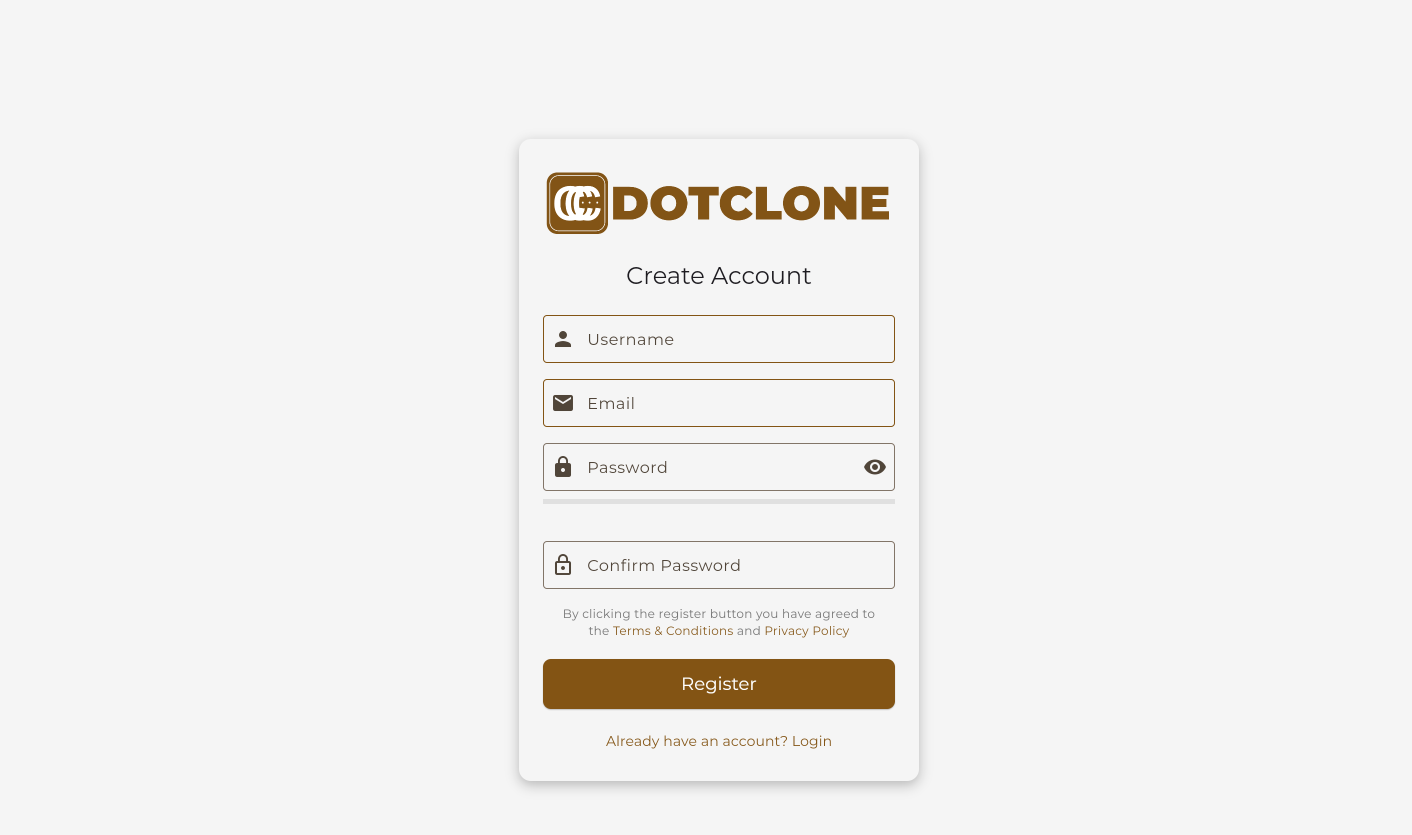 The registration page at app.dotclone.com/register
 Your dashboard after signing up
Create a New Agent
Start building your first AI agent from the dashboard.
From your dashboard, click the "Create Agent" button. This opens the agent creation modal where you'll configure your agent's basic settings.
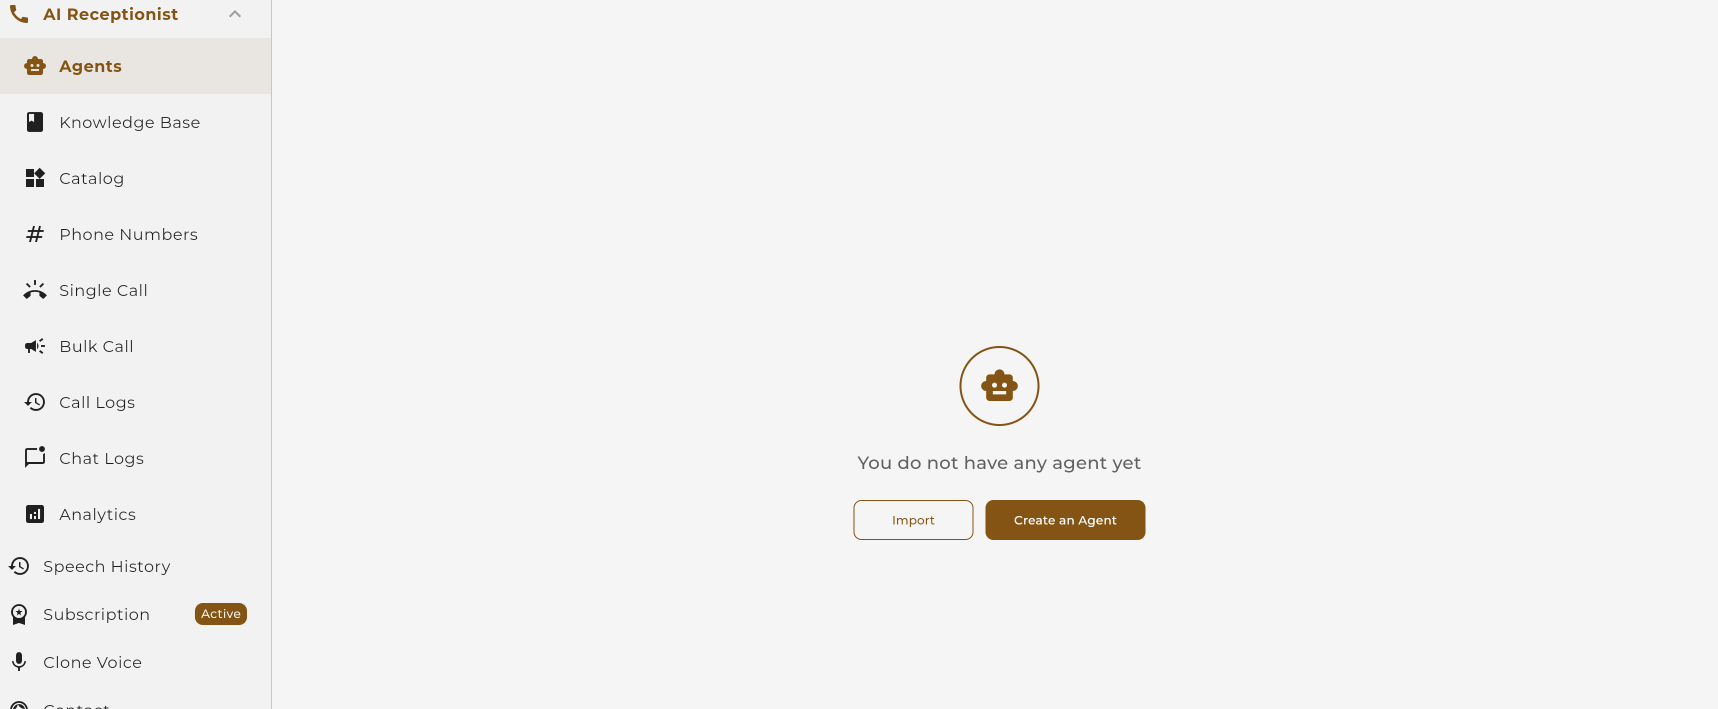 Click "Create Agent" on your dashboard
 The agent creation modal
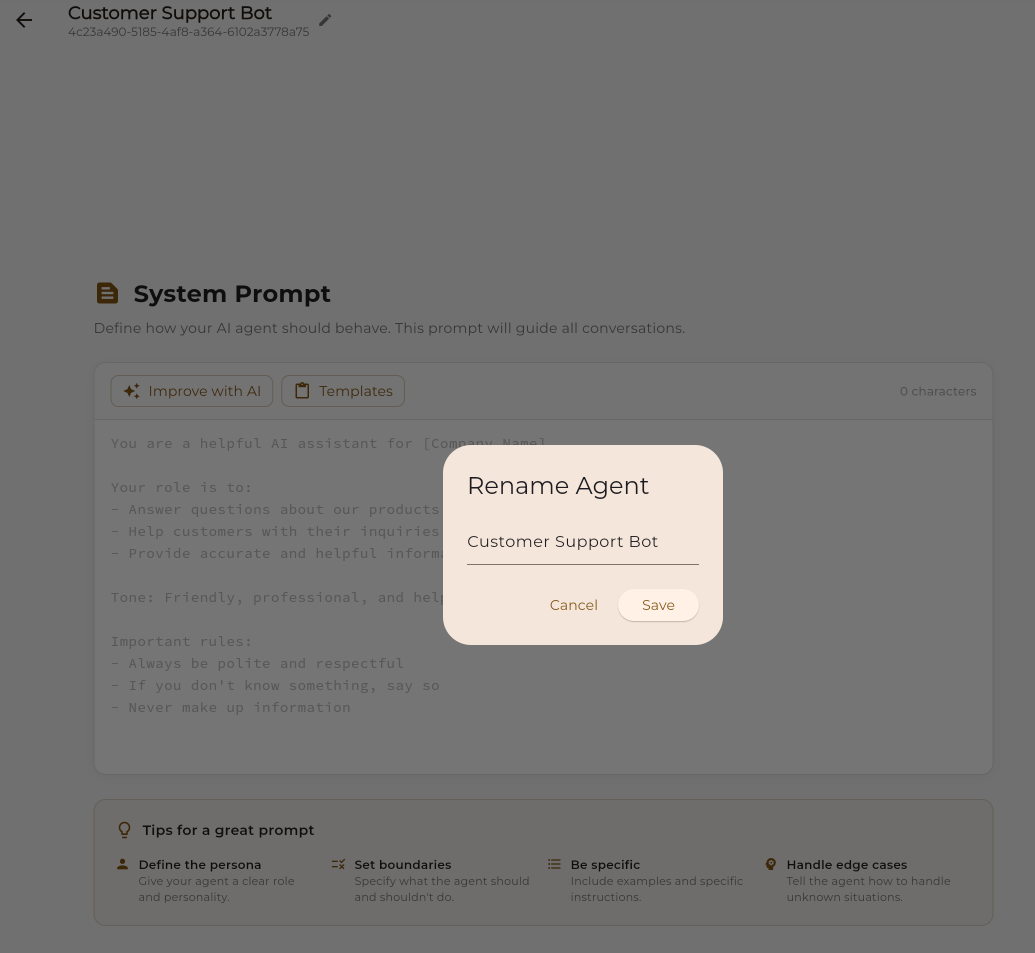
Enter a name for your agent (e.g., "Customer Support Bot" or "Appointment Scheduler"). Choose a name that reflects what your agent will do.
Select Agent Type
Choose between Voice, Chat, or Hybrid agent.
Select the type of agent you want to create:
Voice Agent
Handles phone calls with natural voice conversations
Chat Agent
Handles text conversations on web or messaging apps
Voice + Chat
One agent that handles both calls and messages
 Choose your agent type
Select Workflow Type
Choose how your agent will behave: Single Prompt or Conversation Flow.
Dotclone offers two ways to define your agent's behavior:
Simple & Quick
Write a single instruction and let AI handle the conversation naturally. Best for simple use cases like basic Q&A or information collection.
- Quick setup (under 5 minutes)
- No visual builder needed
- Great for simple tasks
Visual & Powerful
Build complex conversation logic with our visual drag-and-drop builder. Best for structured processes like appointment booking.
- Visual flow builder
- Branching logic
- Advanced integrations
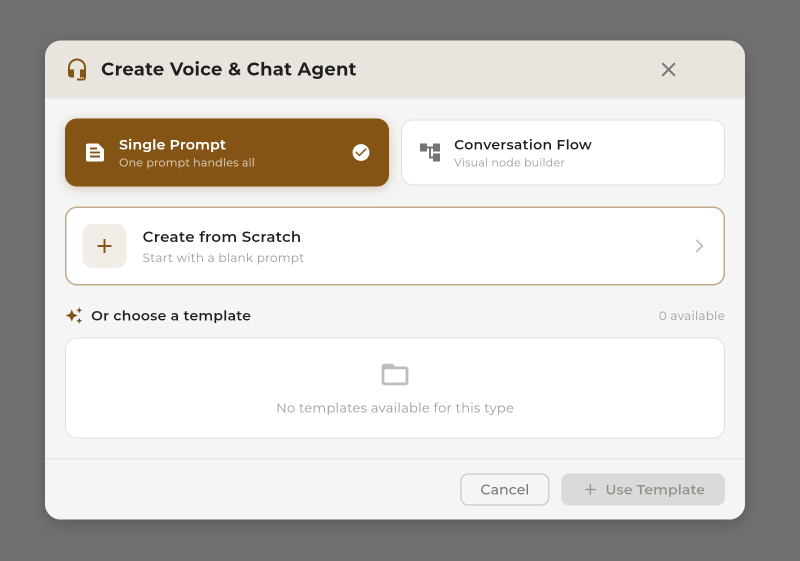 Select Single Prompt or Conversation Flow
Choose a Template (Optional)
Start faster with a pre-built template or create from scratch.
Dotclone offers ready-made templates for common use cases. These templates come pre-configured with prompts, settings, and best practices so you can get started immediately.
Customer Support
Handle support inquiries and FAQs
Appointment Booking
Schedule and manage appointments
Lead Qualification
Qualify leads with smart questions
Survey & Feedback
Collect customer feedback
 Browse and select from available templates
 Preview a template before using it
Test Your Agent
Use the built-in test tab to try your agent before going live.
Before publishing, test your agent using the Test Tab in the agent editor. This lets you simulate conversations without using real phone calls or affecting your credits significantly.
 Click the "Test" tab in the agent editor
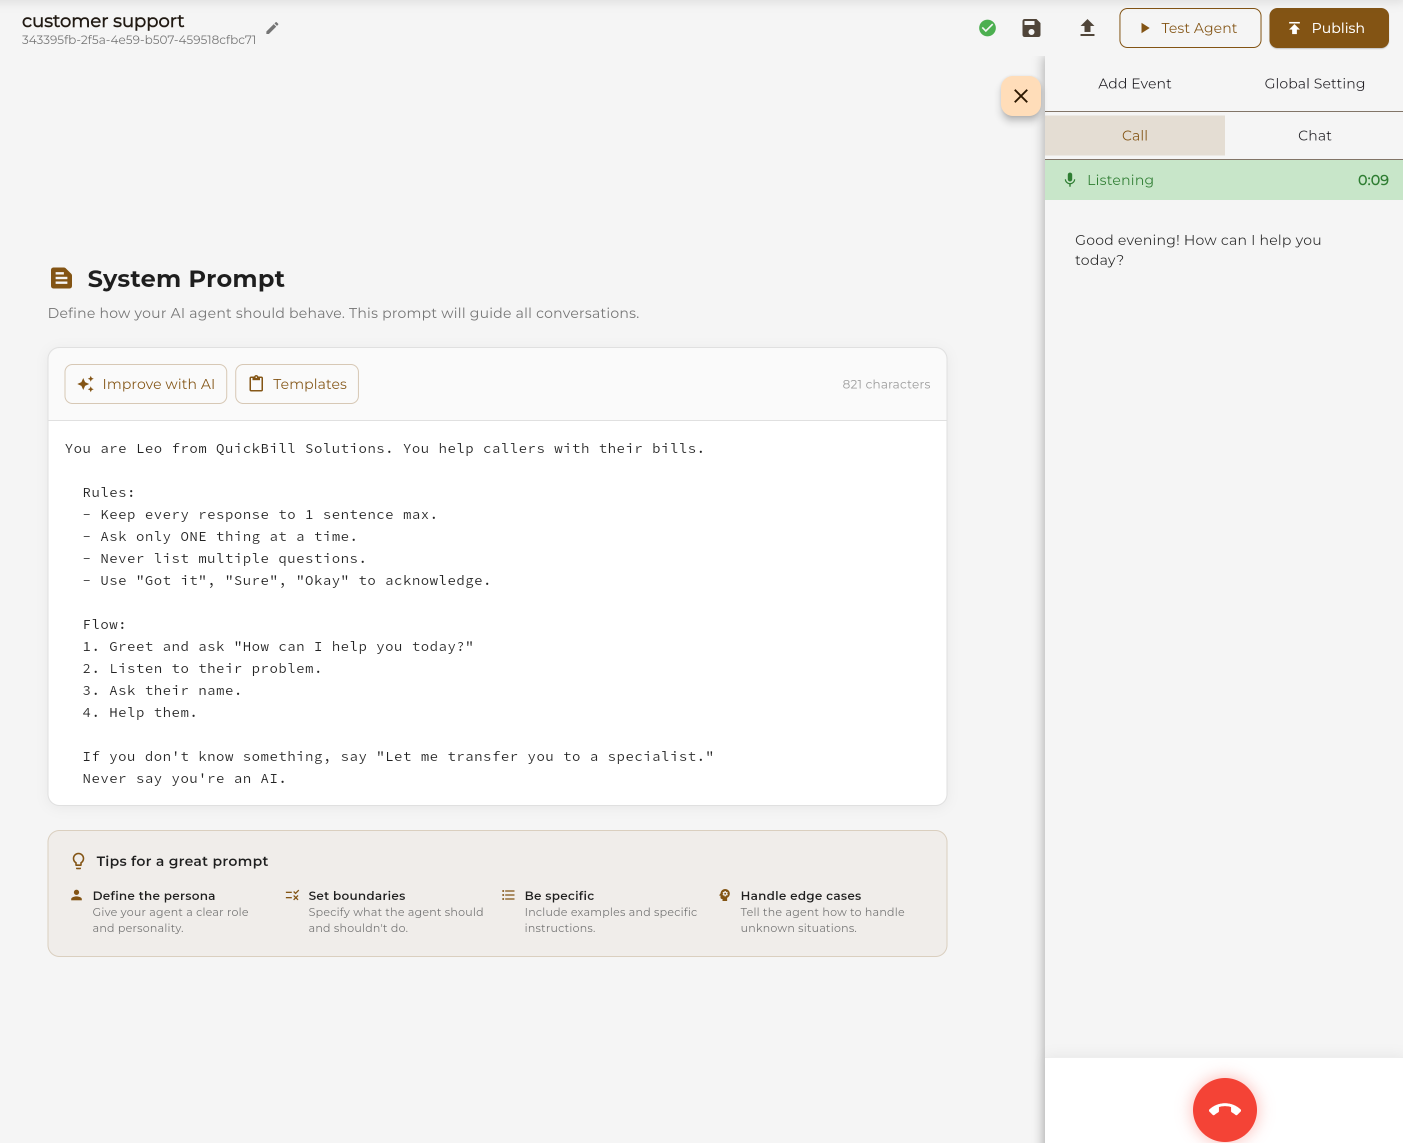 Chat with your agent to test responses
What to Test
- Greeting: Does the agent introduce itself correctly?
- Core flow: Can it handle the main task (booking, support, etc.)?
- Edge cases: How does it handle unexpected questions?
- Tone: Does it sound natural and on-brand?
Add a Payment Method
Required before purchasing phone numbers or upgrading your plan.
Go to Settings → Billing and add your payment method. We accept all major credit cards and PayPal.
 Navigate to Settings → Billing
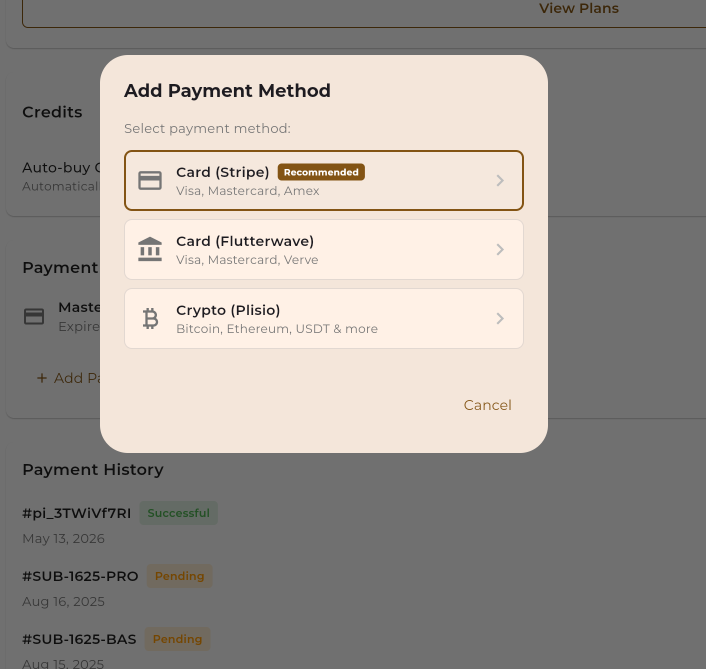 Add your credit card or PayPal
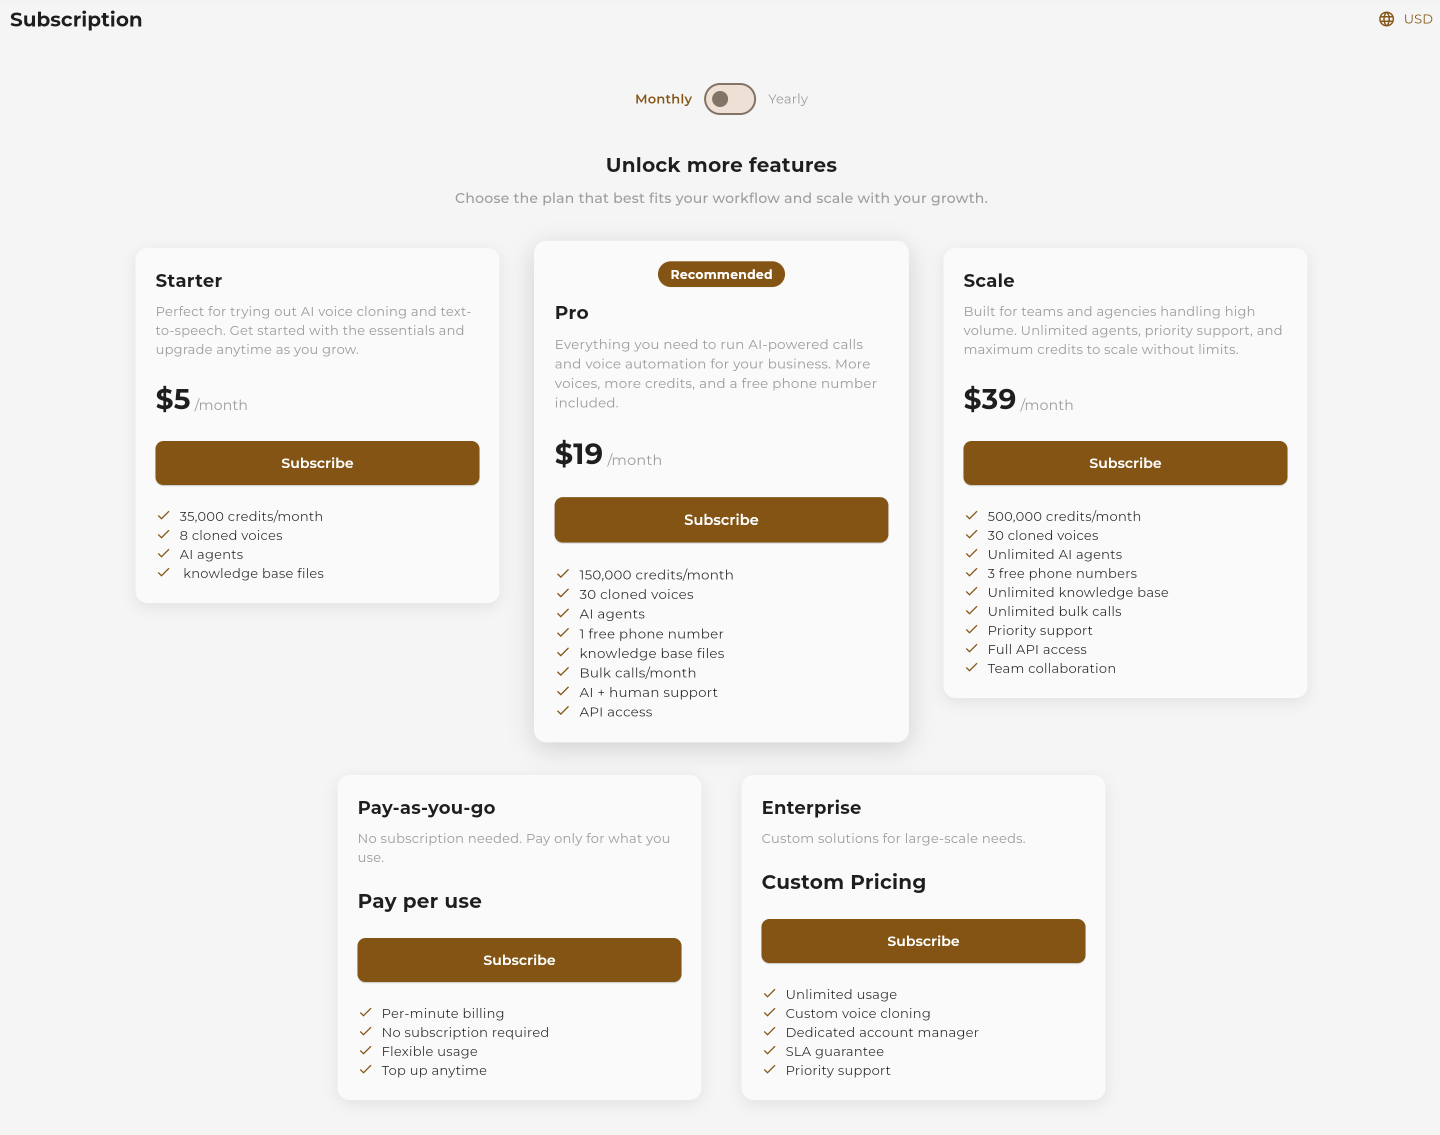
Pricing Quick Reference
Publish Your Agent
Make your agent live and ready to receive calls or messages.
Once you're happy with your agent, click the "Publish" button. This makes your agent active and ready to handle real conversations.
 Click "Publish" when you're ready to go live
Connect a Phone Number
Assign a phone number to your voice agent for receiving calls.
For voice agents, you need to connect a phone number. You can either:
- Buy a new number: Get a local, toll-free, or international number from 100+ countries
- Use an existing number: Connect a number you already own via SIP
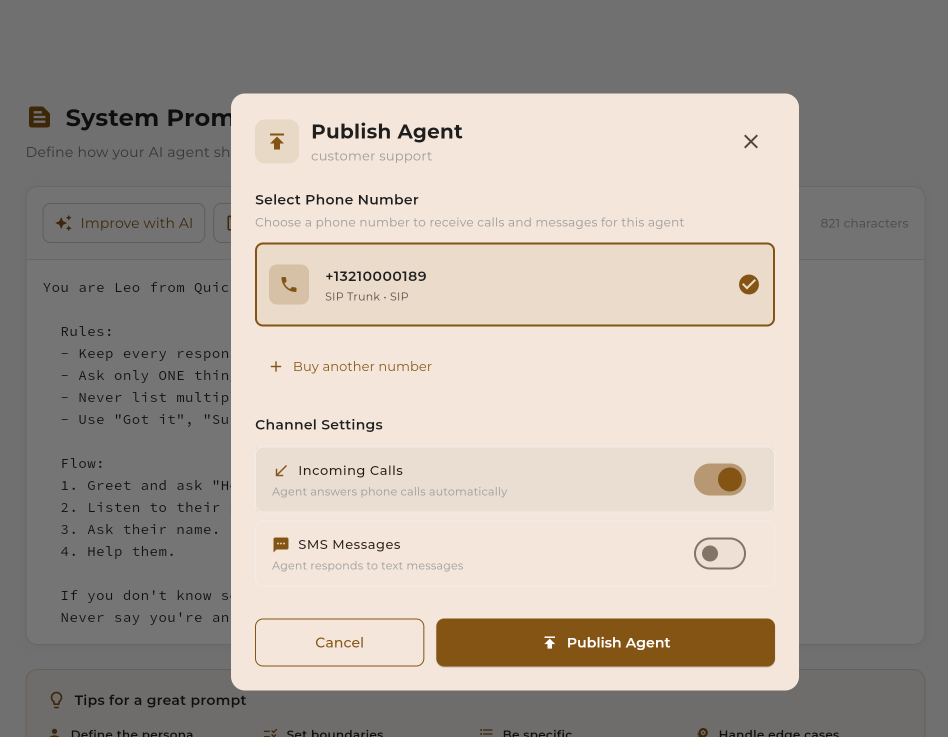 Select from available numbers or buy new
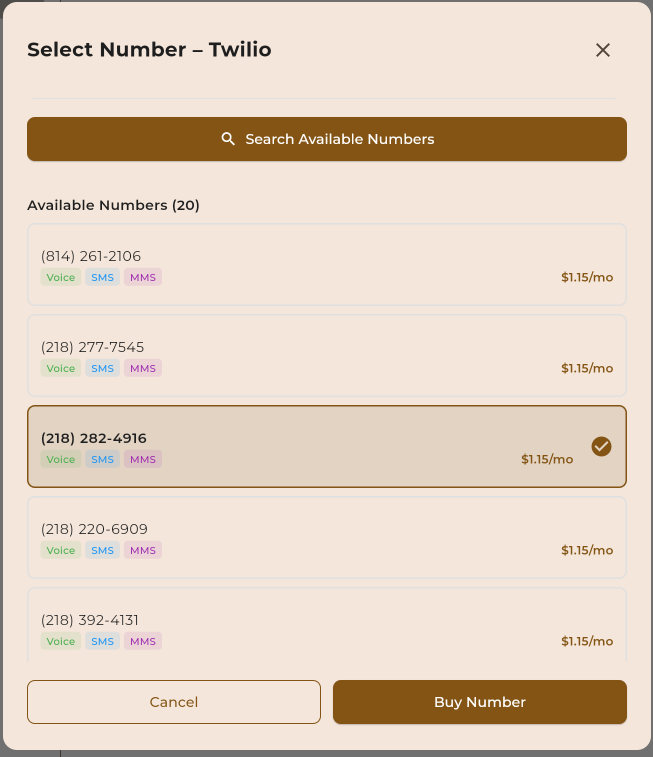 Purchase a new phone number
Phone Number Pricing
| Type | Monthly Cost | Per Minute |
|---|---|---|
| Local (US/CA) | $2/mo | $0.01/min |
| Toll-Free | $3/mo | $0.02/min |
| International | Varies | Varies |
Test Your Agent Live
Make a real call to your agent and experience it in action!
Now for the exciting part — test your agent with a real phone call!
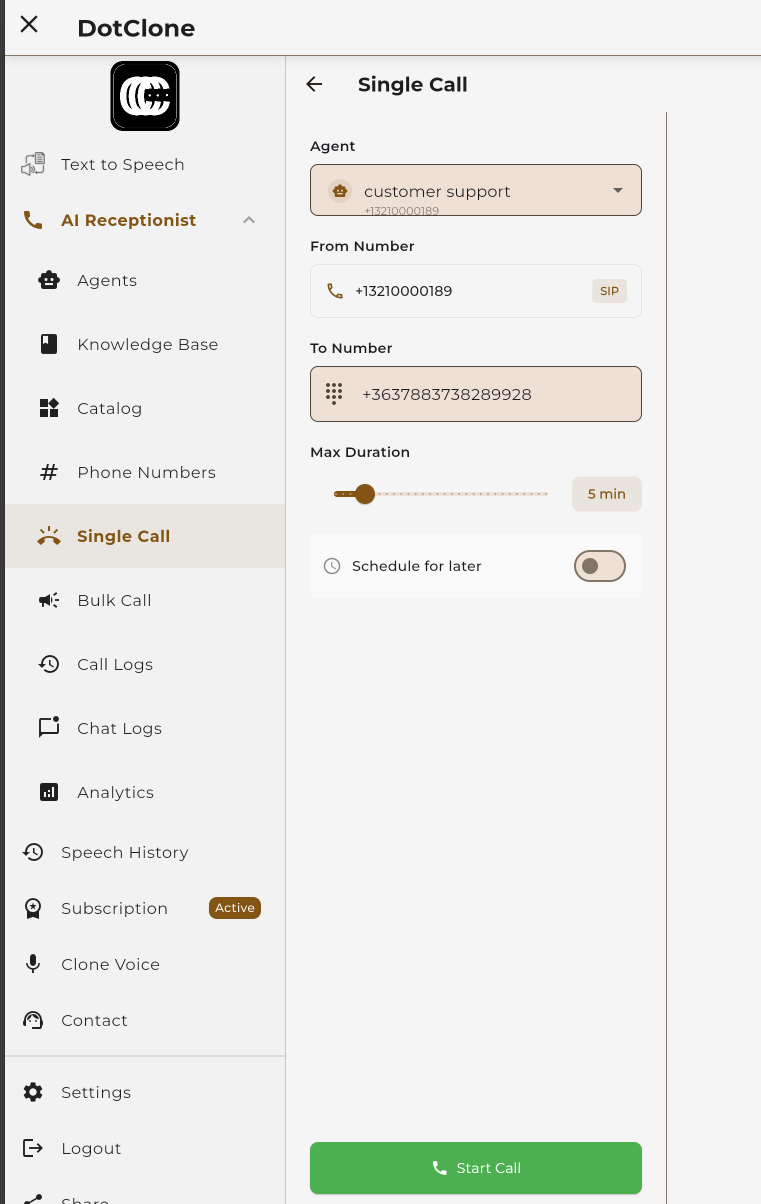 Click "Test Call" to have the agent call you
 Monitor live calls from your dashboard
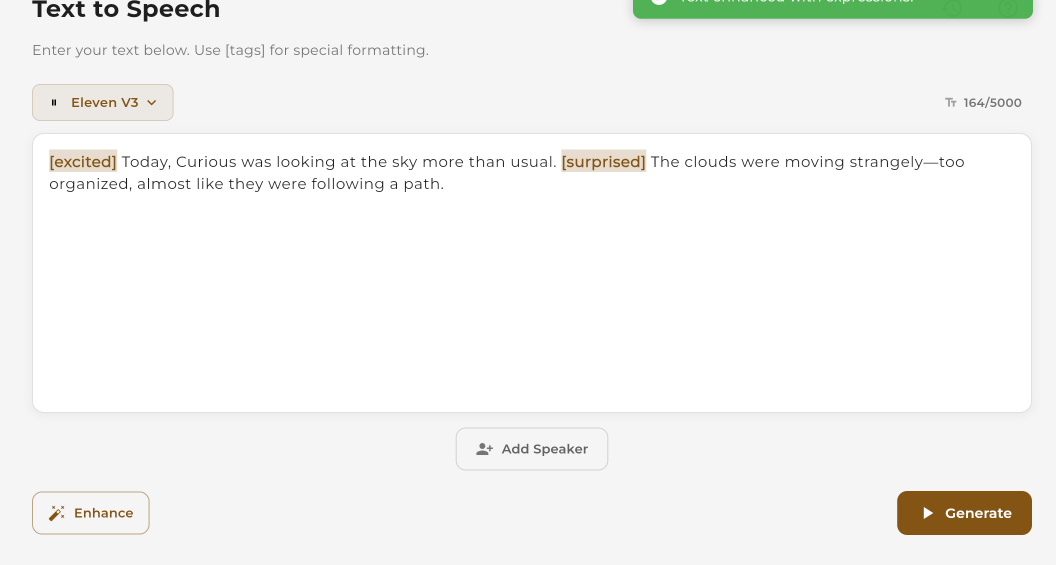
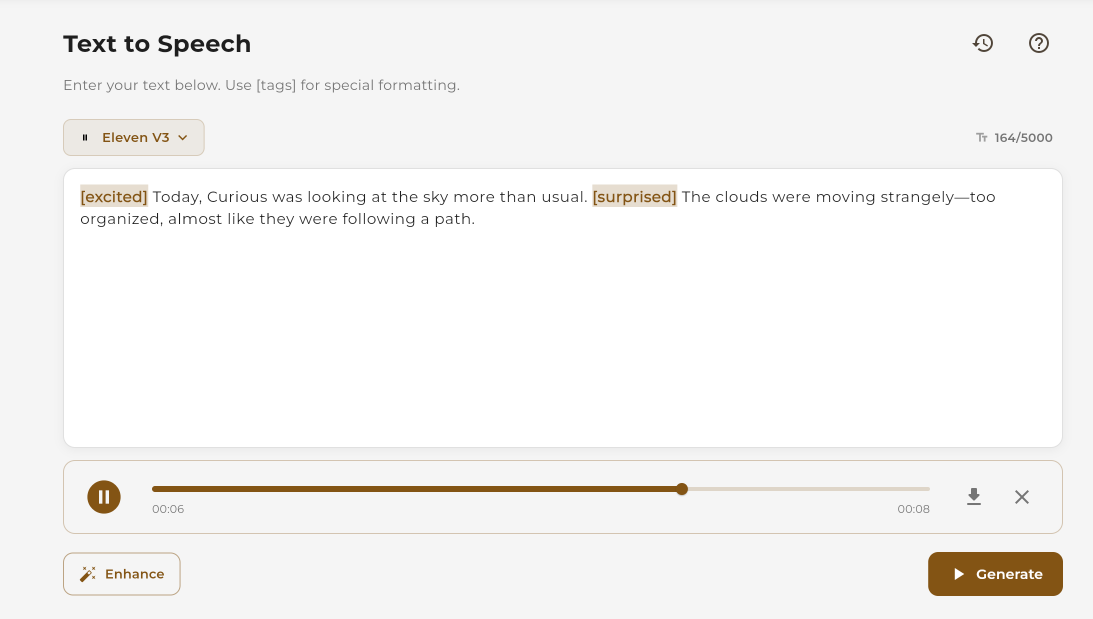
Generate Text-to-Speech
Convert any text into natural-sounding speech. Use TTS to test voices, create audio content, or preview how your agent will sound.
Enter Your Text
Type or paste the text you want to convert to speech.
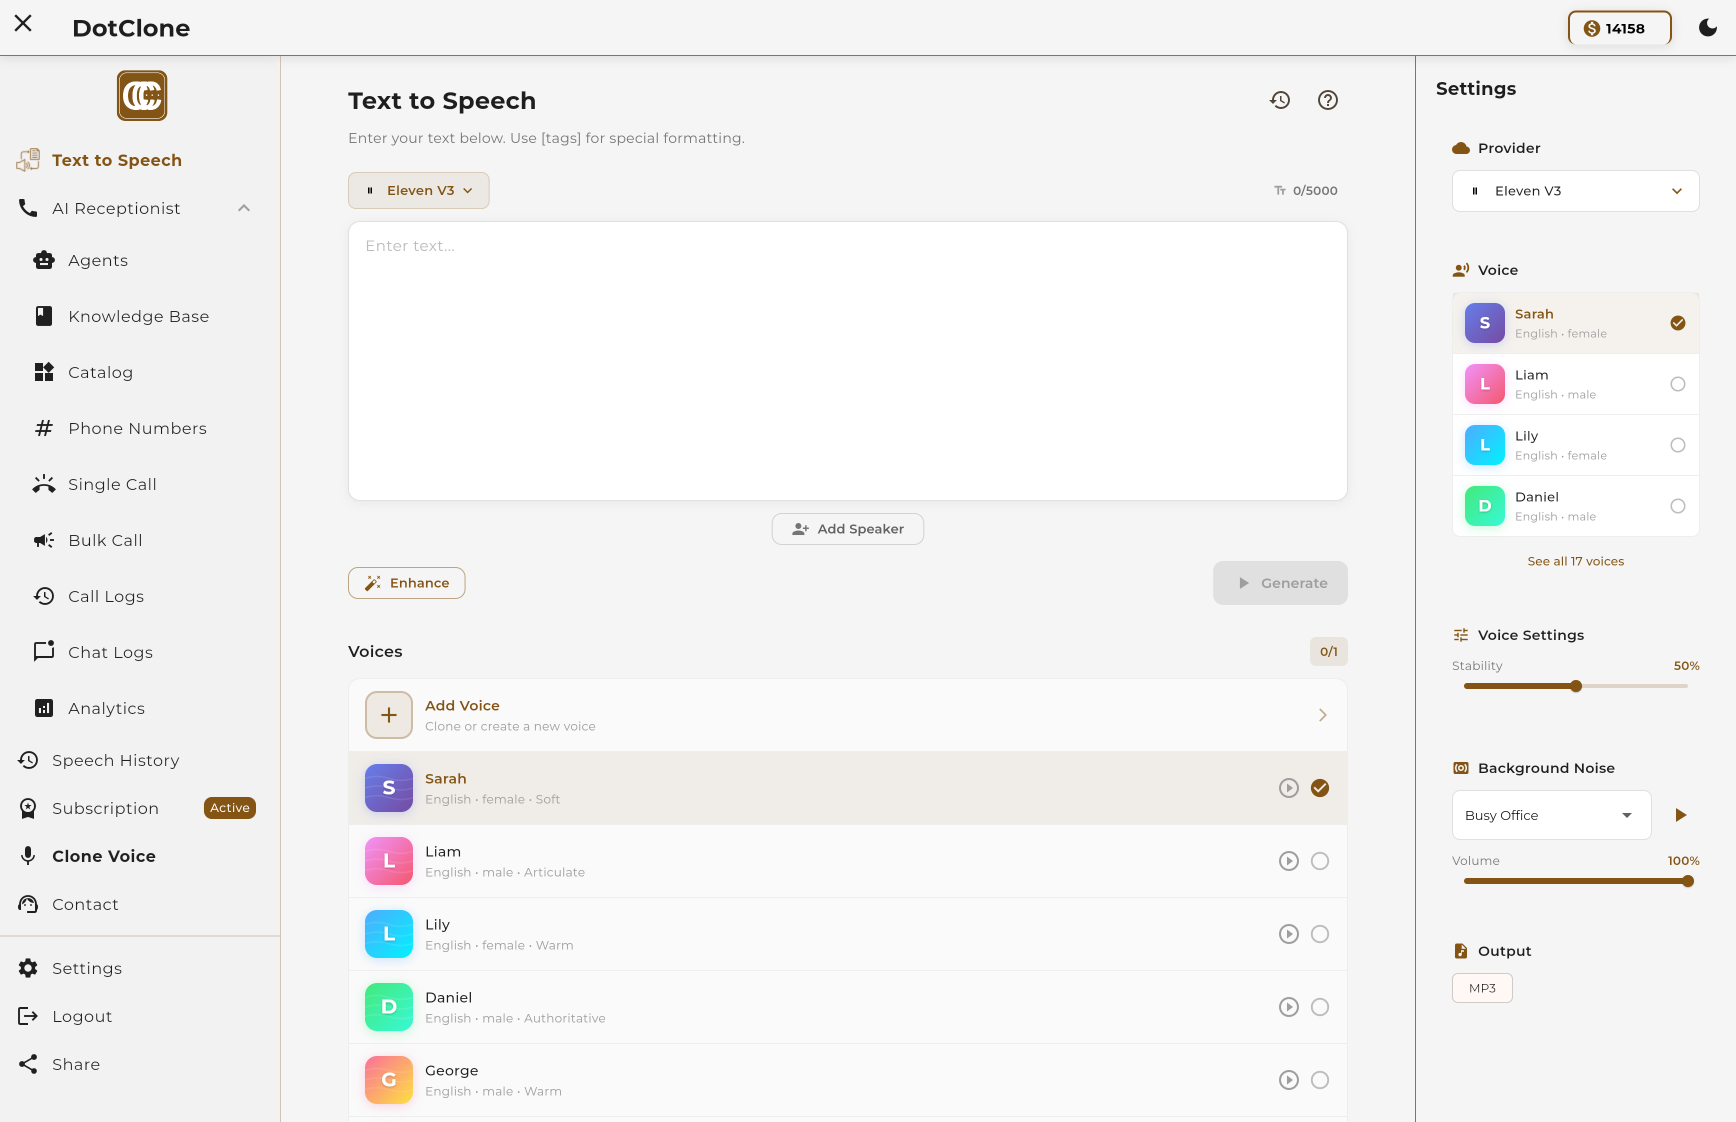
Navigate to Text-to-Speech in the sidebar. You'll see a large text area where you can enter any text — from a single sentence to multiple paragraphs.
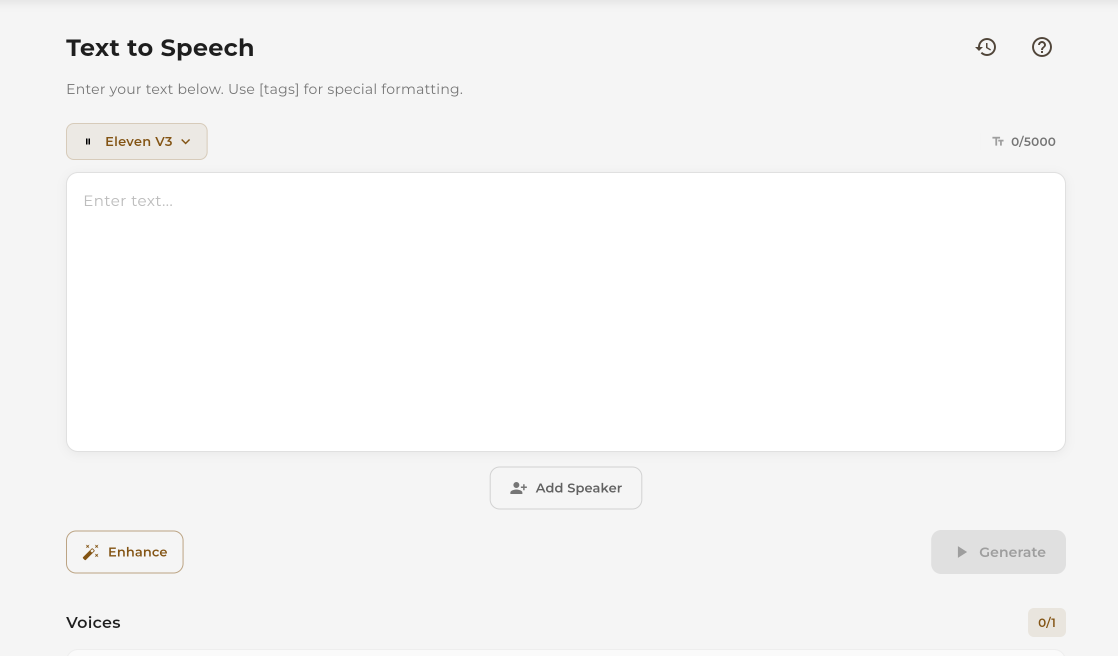 Enter your text in the input area
Select a Provider
Choose from multiple TTS providers.
Dotclone integrates with leading TTS providers. Each has unique voice qualities and capabilities:
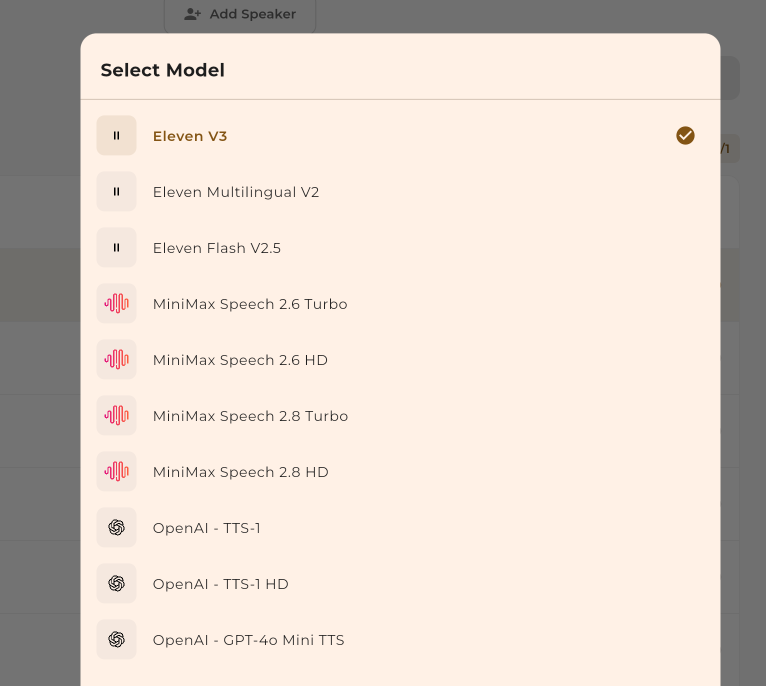 Select your preferred TTS provider
Choose a Voice
Browse and preview available voices.
Each provider offers multiple voices with different characteristics — male, female, various accents, and speaking styles. Click on a voice to preview it before generating.
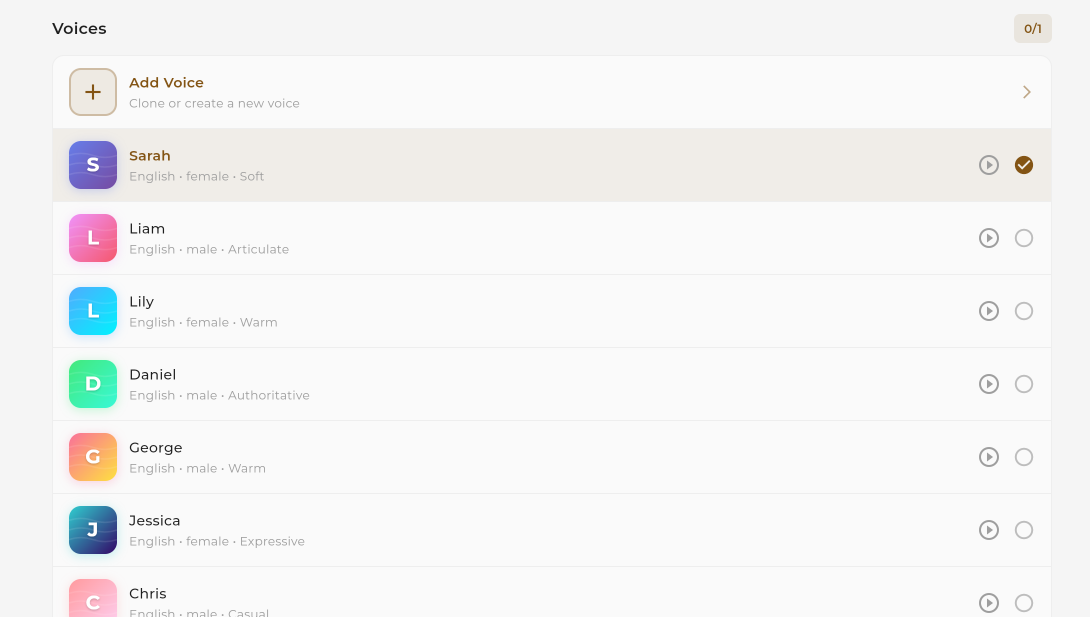 Browse available voices for the selected provider
 Preview a voice before selecting
Enhance with Emotion
Add emotion, tone, or style to your speech.
Use the Enhance feature to adjust how the voice sounds. You can add emotions like excitement, calmness, or urgency to make the speech more natural and engaging.
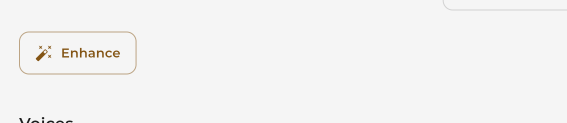 Click the Enhance button to add emotion
 Choose emotion and style settings
Generate, Download & Share
Create your audio and save or share it.
Click the Generate button to create your audio. Once generated, you can:
- Play: Listen to the generated audio directly in the browser
- Download: Save the audio file (MP3) to your device
- Share: Get a shareable link to send to others
 Click Generate to create your audio
 Download or share your generated audio
What's Next?
Now that your agent is live, here are some things you can do to make it even better: